
REVEAL: Our Boy/Girl, 2-Twin Bed Shared Kids Room… With A HEAVY Dose Of Mama Drama

IT’S BEEN A REAL JOURNEY. It was less “cobbler’s kids with no shoes” because that sounds kinda quaint and cute. No, more like “dentist’s kids with only 3 teeth”, eliminating the option of dentures. After 4 years of working on this room, today I’m revealing the “final” (ha) version of the kids shared bedroom and even I’m surprised that I like it this much – not because it’s the best kids room ever but because like most of you I was VERY WORRIED that it wasn’t going to turn out well. The truth is my doubts were there, but it still made my heart beat (in a good way, not a heart attack like another commenter feared). So I knew I could make it work. Turns out we all love it – it’s exciting and interesting and playful and has a nod to the eclectic traditional vibe that this house wants, but in a way that is still very ME. And by “ME” I mean, of course, “them” – the two children who might inhabit this room. In this weird world, they haven’t even seen it yet as we are still up in the mountains, so I snuck down to LA without them because in shocking news trying to style out and shoot a kids room with kids in the room is like trying to catch frogs with your elbows. I’m not exactly sure when/if they will ever sleep in this room again, but it’s ready for them when they do and from seeing the photos they love it, too.
It’s been a long time coming …


Let’s revisit ghosts of bedroom past. When we bought this house I think it was considered the Primary bedroom (formerly known as master, learn more about that language shift here) even though it didn’t have a bathroom and had a tiny closet. The year was 1921 and people shared full-sized beds, had 5 outfits in total, and burned their garbage in a pit in the backyard (true story). So we added a bathroom for the kids and made room for a proper closet.

Three and a half years ago we finished the first iteration of this room and shot it for Real Simple, as just Charlie’s room. It was cute, but I didn’t love it. Honestly, I didn’t know it was going to be shot until a couple of weeks before so I scrambled to pull it together. It just felt a bit dated and nothing really too special about it.

Then over a year and a half ago the kids moved in together, by choice (so cute), and I STRUGGLED to design it mostly due to it being small-ish for two beds and the fact that we all preferred a big king bed over two twins. Bunk beds were a big NO for us as we tried one for 11 days and nights of horror. They got up 6 times a night “scared” and while I was out of town Brian took it apart and put the mattresses on the ground, where they stayed for months.
ANYWAY, it’s been 3 different colors, has had cheap beadboard on it and I tried 3 different bed arrangements to get here. Of course, the pandemic made it harder to source pieces and there might be some things that I would add that were unavailable or we couldn’t get our hands on. But it felt ready to show you and frankly I myself was desperate to style something and have a pretty show and tell for you all.
HERE WE GO.

Paint Color | Window Treatment | Rug | Ceiling Light | Stripe Fabric | Green Fabric | Brass Curtain Rod | Brass Endcap Finials | Plug-in Sconce (vintage) | Wicker Twin Bed (similar) | Vintage Wicker Bed (similar) | Table Lamp | Scallop Bedskirt | Dotted Duvet Set | Blue Bed Throw | White Sheet Set | Stuffed Sloth Animal | Stuffed Octopus Animal
It’s whimsical, original, exciting, but with a pretty cohesive color palette of blues and greens (with hits of mustard and red) so it doesn’t feel cuckoo anymore. Last time you saw this we all voted/agreed to separate the beds (we can push together for a while if they want), raise them on higher frames, and lower the brass bar of the canopy. Once we did those three things I knew that I could style it out to be cute. The proportions were originally off, making the canopy feel SO overwhelming. But once they were right, it was just a matter of styling and fun.

THE DRAMATIC CANOPY

So let’s talk details of this canopy. The canopy was the problem child a few months ago. It dominated the room, eliciting fear, worry, and even “vertigo” from one reader/commenter. Every time Brian walked in he would say, “it’s just… a LOT“. I thought I would have to take it down and scrap it all together despite the heavy investment, but I kept telling myself to just work with it as far as you can, push through the finish line and if I couldn’t make it work we’d admit defeat and revise. It was a bold commitment/risk as it was all custom and I KNEW that this room didn’t have an obvious focal wall that it should live on (thus trying to create one). But now that it’s all styled out, it not only WORKS but it’s AWESOME.
The broken stripe fabric is Zak + Fox and if you look closely there are hand stitching throughout, making it far more special than it might initially appear. Its all hand-sewn and super thick (plus we backed it). I know that it’s a lot for some of you, but in the room, now that the headboards are higher, I love it – it feels like a modern/playful take on the traditional canopy. And like a child theater actor, this lady adds a heavy dose of drama and personality, letting the rest of the room be “the company” – full of character and whimsy but taking a back seat.
The green fabric is from Maresca Textiles, is a bit darker in person, and adds some contrast in both color and pattern. Both of those fabric companies are from smaller designers creating patterns that I LOVE, with many of them supporting artisans or made in the states. Please check them out. Obviously I couldn’t just leave it there, and insisted on the fringe on the front and mustard piping on the sides. I love both.
Now, what I learned is that we need something stiffer in the green fabric flap to keep it taut – almost like one of those cardboard things that are in your collar when you buy it from Macy’s. The wrinkles do kinda bum me out, but not enough to spend more time/energy/money on it.

I LOVE what this does in the room, but if I were to do it again I might have done a more affordable version of it mostly because it added up to a lot (12 yards of fabric (gifted) + accent trim + sewing $1500, plus a $200 install, then lowering, another $100). But pre-pandemic-no-spare-time-always-overwhelmed-Emily had different priorities than I do now and outsourcing was all I could muster (more on that later). It was constructed and installed in March when I wanted to create something aspirational and fantastical, instead of my new direction of more approachable and still inspirational (although I’m currently project-less). And to be fair to past-Emily, I was ready to invest here because I was frankly desperate to prove to myself (and sure, perhaps you) that I could make this room awesome, special, editorial, rivaling both kids rooms in our last house which I nailed – design-wise (see Charlie’s and Birdie’s). I was embarrassed by this room for years, making a million excuses/disclaimers when friends – or worse – acquaintances – came over and wanted to “poke around”. And now I can’t wait to show people this room (if we ever have people over). It absolutely gave the room the statement that I wanted and yes, I am proud of it (THANK GOD).
The Headboards

The headboards are vintage, bought off of Chairish – these are normally pretty easy to find at vintage stores and relatively affordable (I paid $400 but I’ve seen them for like $50 before). There are actually a few sets left online. I know that a lot of you voted for either headboards OR canopy – not BOTH – but I stand by this layering choice. Here’s why – you have a simple, warm, solid, wicker oval shape against the busier rectangular graphic softer, fabric pattern. These shapes ground the wall in a way that the wild canopy couldn’t have ever. In fact, if you need a far-fetched metaphor you could say that I’m the canopy and Brian is the headboard. I also love that when pushed together into a king bed these headboards still look AWESOME, so I’ll be able to use them in the future in a different project.

HOT TIP: Like in most of my rooms, I like a combo of square and round – I think that subtle contrast makes a really interesting and eclectic and creates tensions in a good way. So we have the blocks/stripes of the canopy with the rounded headboard (as opposed to a squared-off one). Then the rectangle shade on the sconce and the round ball lamp. You get it, but now that I’ve told you you’ll see this everywhere in this room and in all of my projects.
Also how cute are all those stuffies? I bought them all from a new-to-me brand Goodee which sells far more than just large sloth stuffed animals – check them out.

Stuffed Sloth | Stuffed Pig Animal | Stuffed Crocodile Animal
THE BEDDING
The room really woke up once I layered the bedding, and balanced out the wall and yet calmed her down. The black and white polka dot comforter set is from Pottery Barn and the teal blanket and shams are from Justina Blakeney’s new line and it’s REALLY GOOD. The blankets have contrasting fringe and the pillows are a really thick weave that feels very high quality (comes in a bunch of different colors, too).
Scallop Bedskirt | Dotted Duvet Set | Blue Bed Throw | White Sheet Set
Please note my inclusion of scallops in this room – the bed skirt, which I think we can go ahead and call it what it is – A DUST RUFFLE. I restrained myself here, almost doing a plaid or something CRAZY ruffly, but when I found these from Ballard Designs (first time ordering from there, ha!). I realized the white helped separate the bed from the rug and the scallop said “playful and whimsy” without taking me into the over-decorated ’80s territory that frankly, this room was threatening to enter.


Before we leave this side of the room I wanted to show off the DIY silhouettes that the kids and I made. I bought the antique frames off Etsy and hung them on a simple change and jump ring from the brass curtain rod. This “moment” makes me VERY happy. If you look closely you can see them write their name and age in pencil and Birdie couldn’t help herself but add a ton of hearts on hers when I wasn’t looking.
The Light and Blackout Shades

Let’s not forget about the other side of the room. But first, we switched out the larger fixture for this one that is more modern and playful (and strangely affordable). It competes less with the canopy and recedes in a good way.
We worked with Decorview once again for the custom shade. The canopy + curtain situation drowned the room in the fabric so we had to change to shades. I wanted something that popped off more than white, but I didn’t want yet another fabric in here. So I customized theses natural woven shades that picked up on the wicker and wood tones in the room. We chose to do just ONE across the windows, hung high up to reduce”light leak”. We still have plans to sew magnets into the sides (and glue to the window frame) to reduce the light leak on the sides even more. I know that custom window treatments are a splurge, but these older windows made getting something ready-made very hard, and once you enter the custom route you want to make sure that they are done right and installed perfectly. We installed them just a few inches from the ceiling to make the ceiling look taller and they reach the bottom of the sill.

The “Bookstore” Nook

Paint Color | Window Treatment | Green Bookcase | Paper Ship | Red Table Lamp | Vintage Children’s Desk | Rug
This corner was such a challenge. I thought about actually walling it off to make the room more square, or doing a cute faux wall with a big circle in it to create a fort. When Brian nixed those ideas I thought about hanging a big oval wicker chair, which would have looked cute and engaged the space nicely. But we needed a bookshelf and Charlie was begging for a desk to do “homework”. I decided to just make it as functional for my family as possible, so I scrapped the swing that I knew they would likely fight over and would just be a hanging sculpture for me to enjoy looking at (there was no room for them to even “swing” much). I found this vintage desk on Craigslist in our neighborhood. I had plans to paint the base but, well, didn’t and that’s ok.
The bookshelf is kinda perfect for this. I love the dark green color and know that it could transition to any room when they are older (or literally any room – even a family room). It’s super simple, with great book storage and a big drawer at the bottom. I thought about putting it where the trunk is (to be able to put the swing in the corner) but it made the room feel much smaller and was too close to the dresser (square case good near square case good felt a little claustrophobic).

I’d like to introduce you to my new favorite accessories in this room – the red lamp and the ship kite. I bought the lamp for the living room but it was a bit too bright and jarring. Once we put it here it really awoke that corner and added more playfulness. The bookshelf corner still felt dark but once I got that white kite hung it really pulled your eye over there and brightened it.
The Rug and The Trunk

Paint Color | Rug | Dresser | Table Lamp | Dotted Duvet Set | Blue Bed Throw | Round Mirror
The rug and the trunk were the two areas that I might have changed had we not been in a pandemic. I could have shopped in person and spent a bit more time and money obsessing. But at a certain point, I just wanted to call it on this room (especially since we aren’t even living here). So I know that this rug isn’t perfect because it’s too big. And I still wanted to layer a playful rug over it (I chose this one, but it was on backorder). But listen, this rug is great in the space and my mindset has shifted a bit in general. I didn’t want to waste this rug and purchase another one just because it was technically too big, especially during our quarantine. It was a case of “good enough” 
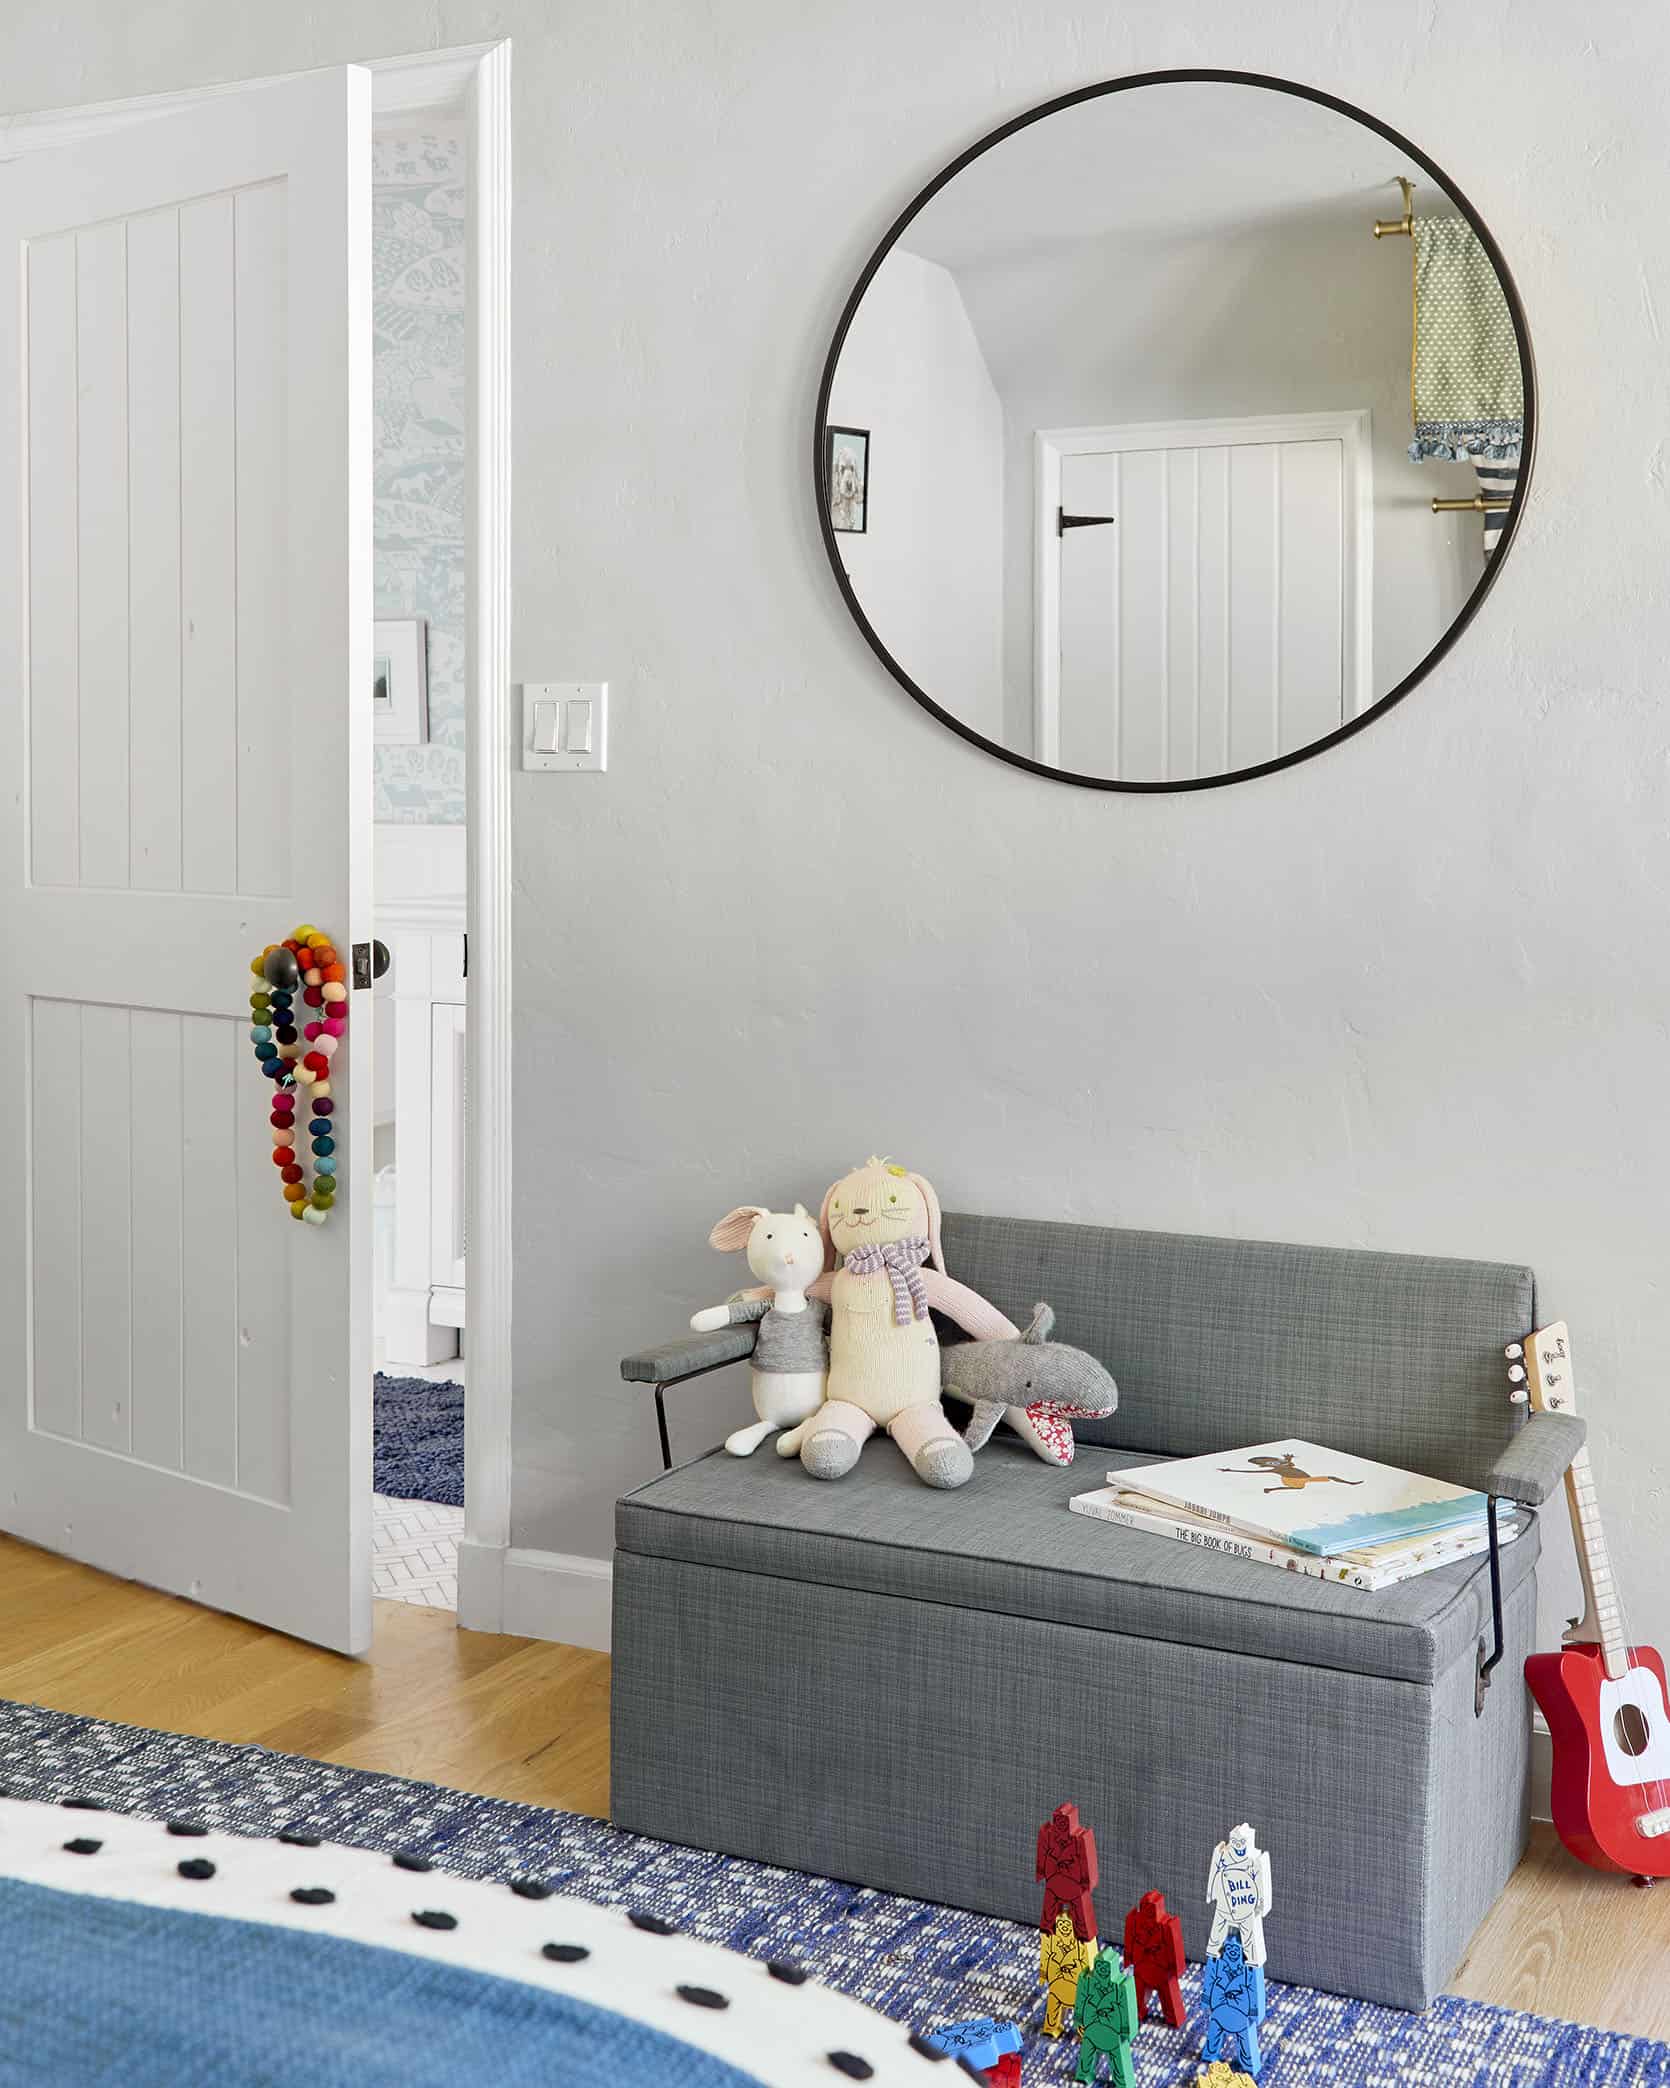
I’ve had the vintage trunk since Charlie was a baby and while it could use a recover, it worked well enough here. The round mirror above it was perfect to add something modern and graphic (and again – mix the round with the square).
The Gallery Wall

Face Mobile | Painting by Mary Ann Puls | Embroidered Piece by Jane Denton | Frames | Dresser | Lamp (similar)
This side of the room did stump me. Do I do a quadrant of pieces? Two side by side? But ultimately I used what we already had (plus adding that face mobile) and just had fun with it – mixing mediums, shapes, textures, and dimensions. The dog portrait is one of my favorite pieces that I own and it hasn’t been hung in my house in years – I’m so happy he’s back. The Jane Denton embroidery piece was in Charlie’s first nursery and brings back baby memories. The painting up top is a new piece from Mary Ann Puls that I bought from the Portland project. And then I added a photo strip of the kids and a photo of them holding hands, both pieces I had framed a while ago with Framebridge.
The dresser is from Rejuvenation and is just so classic and high quality. The lamp I’ve had forever, from Schoolhouse, and yes, I want a time machine to lower the harp on it because you shouldn’t be able to see the hardware under the shade. Listen, we were trying to style/shoot really fast, just Sara and I because we had a lot to shoot that day to reduce the number of days on set (we had both been tested and wore masks).
The only thing missing? Those kids.


In lieu of my children I posed for you, here, donning high waisted tight jeans for the first time in months and trust me, it was terrible.
All in all, I needed this day. I miss styling, shooting, and writing about my projects so badly and am so excited to show you the living room, basement and a few other updates we made. More to come soon …..
BUT FOR NOW – I don’t expect full acceptance of this room and canopy from every person in the world (which obviously I’m never offended by). This kind of design isn’t for all people, but I’d love to know what you think? Do you think we pulled it off???? Did we make it work???
***Photography by Sara Ligorria-Tramp
The post REVEAL: Our Boy/Girl, 2-Twin Bed Shared Kids Room… With A HEAVY Dose Of Mama Drama appeared first on Emily Henderson.